How to register and make use of PowerApps Custom Connector
What is Connector
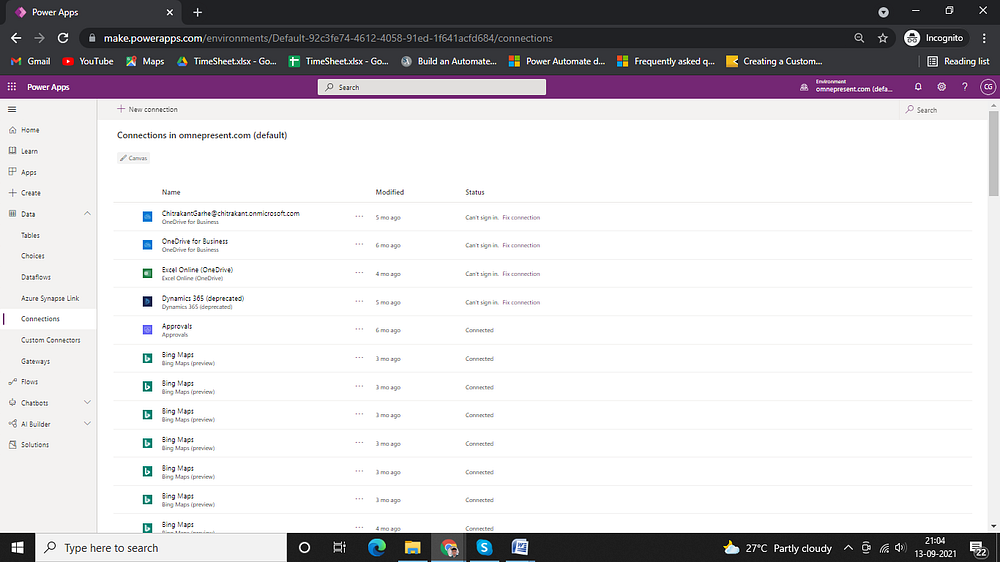
The connector serves as a link between the data source and the user interface. Via connectors, Power Apps allows the user to easily integrate with other applications or services. Connectors are needed to connect to your data sources and bring the data to your applications.
Power Apps Connector
Two types of connectors are present in PowerApps.
Public Connector
There are more than 300 connectors available to help app developers connect to Microsoft and third-party services ranging from Dynamics 365 to Dropbox. PowerApps contains a wide range of connectors for connecting to your data source. For example, if you want to connect to SharePoint, you must use the “SharePoint connection” connection, and so on.
Custom Connector
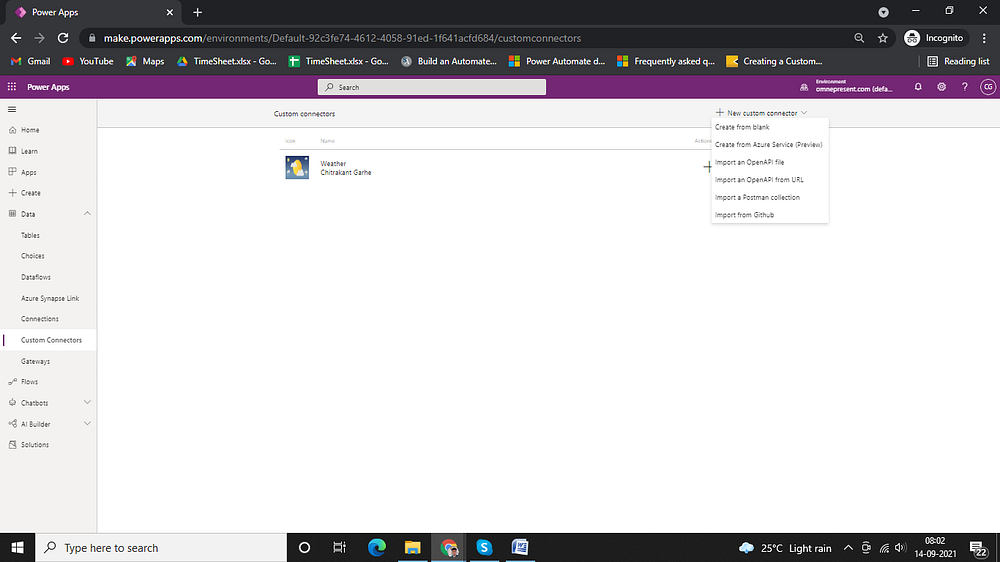
Customer Connector is nothing but a feature provided in MS Power Platform where you can create your own connector and use the same connector in PowerApps and Power Automate. Some of the connectors may be some personal API that you have not created by MS so here you have an option to create your own custom connector. In the below image, you can see we have the following option to create the custom connector.
- Create from Blank
- Create from Azure Service
- Import an open API file
- Import an open API from URL
- Import from Postman collection
- Import from Github
Characteristic of PowerApps custom connector
Custom connectors are context, which means they are configured in the form of a specific environment and must be added to each area in order for us, so they are present to apps and flows within that environment.
- Custom connectors that are configured to allow the use of APIs which is not covered by the public connectors.
- Custom connectors can be shared so that others in your organization can begin using them.
- Once exporting apps from the source to the target environment, you should analyze the connectors that are used. And, when you’re using custom connectors, they’ll need to be recreated before being imported into the target environment, or they’ll have to be included in the CDS solution.
How to create a custom connector from scratch
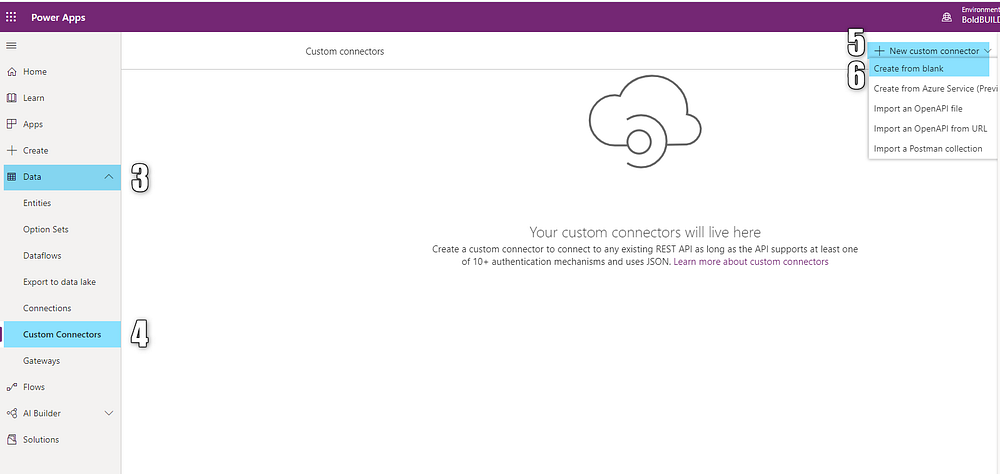
- Navigate to https://make.powerapps.com
- Choose your environment
- Expand data
- Click on Custom Connector
- Click New Custom Connector
- Click Create from Blank
7. A popup display. Enter the name of custom connector Example Weather
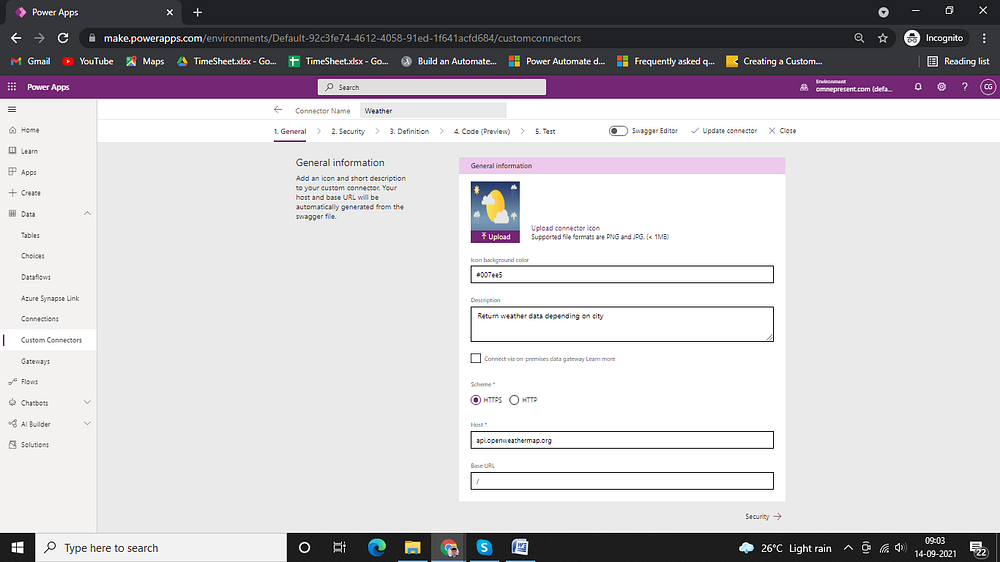
- Weather — This is the name of the custom connector.
- Host — API Host URL used to get updated weather information
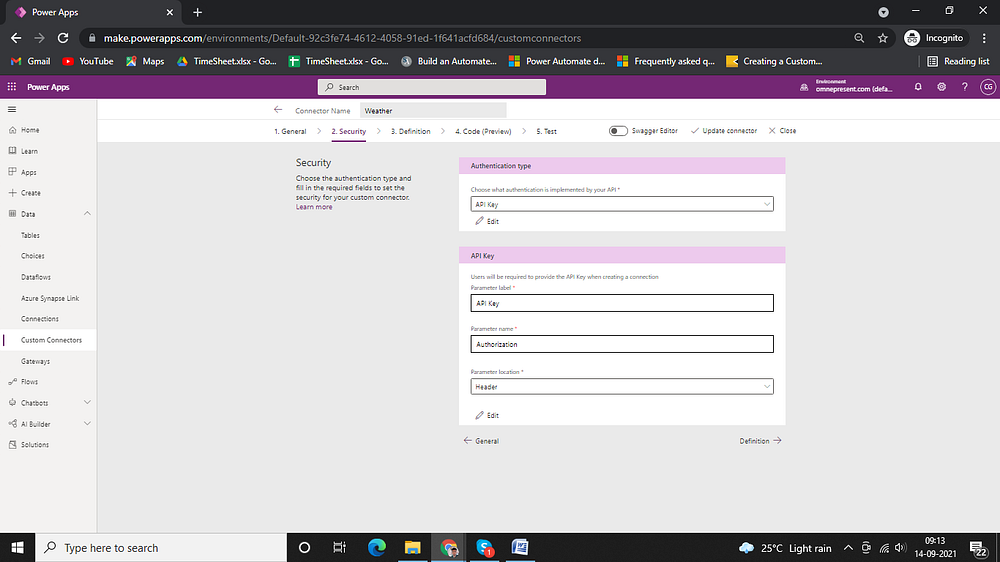
8. Click on security and choose API Key
In the security, section selects the API key for authentication and we can get the API key from the open weather map.
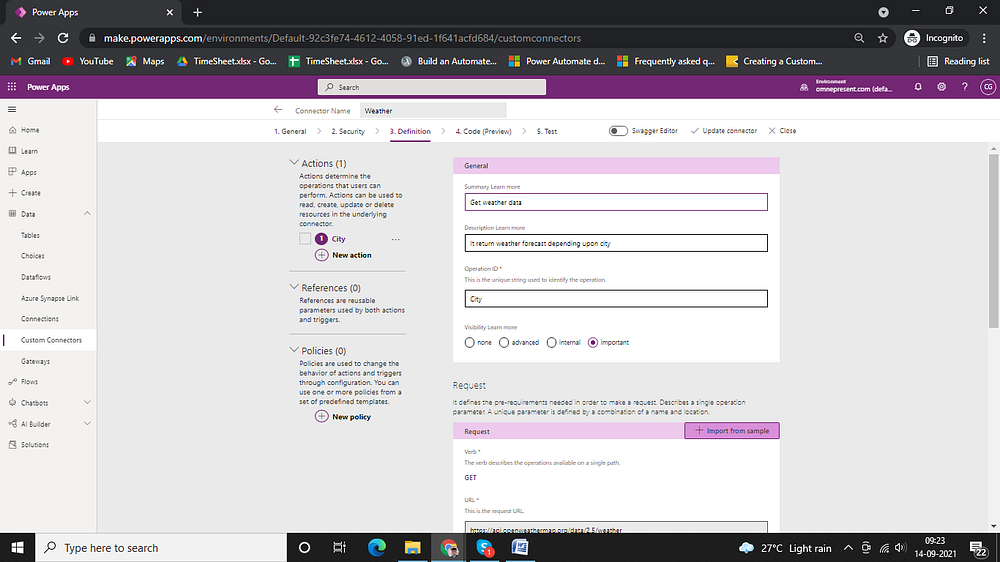
9. Click on Definition and New Action
Enter a significant cost for Description and display under the custom connector’s details, and it could assist others to understand if the connector may be beneficial to them.
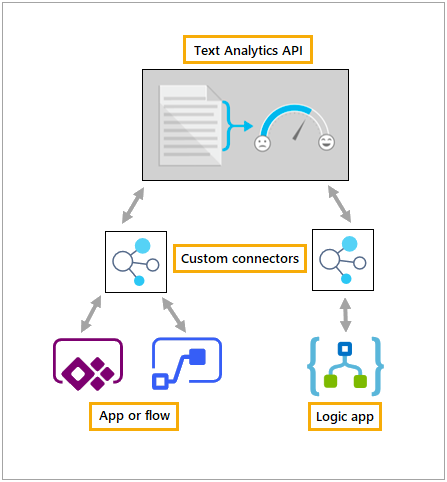
Update Host to the deal with the Text Analytics API. The connector makes use of the API host and the bottom URL to decide how to name the API.
10. Enter the Summary of action and Operation ID
Need to enter the meaning of full name summary under this area so that easy to understand for anyone. When clicking on import from sample get many verbs is present like GET, POST DELETE, PUT, HEAD, OPTION, and PATCH. You can choose according to your requirement.
11. Under the Request section, click on Import from Sample
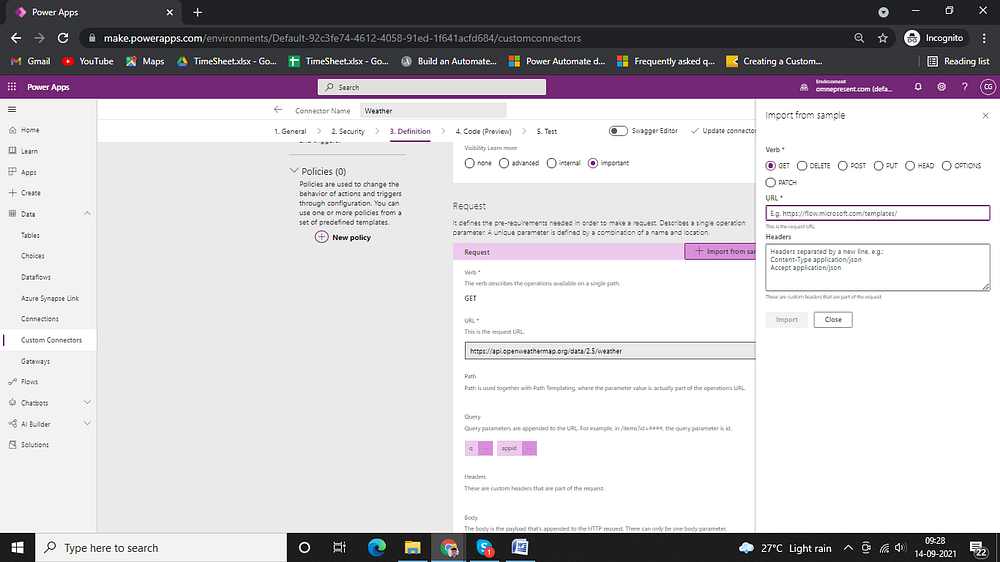
12. Select the Get.
13. Enter the URL, it contains 2 parameters, base, and symbol.
14. Get validation success.
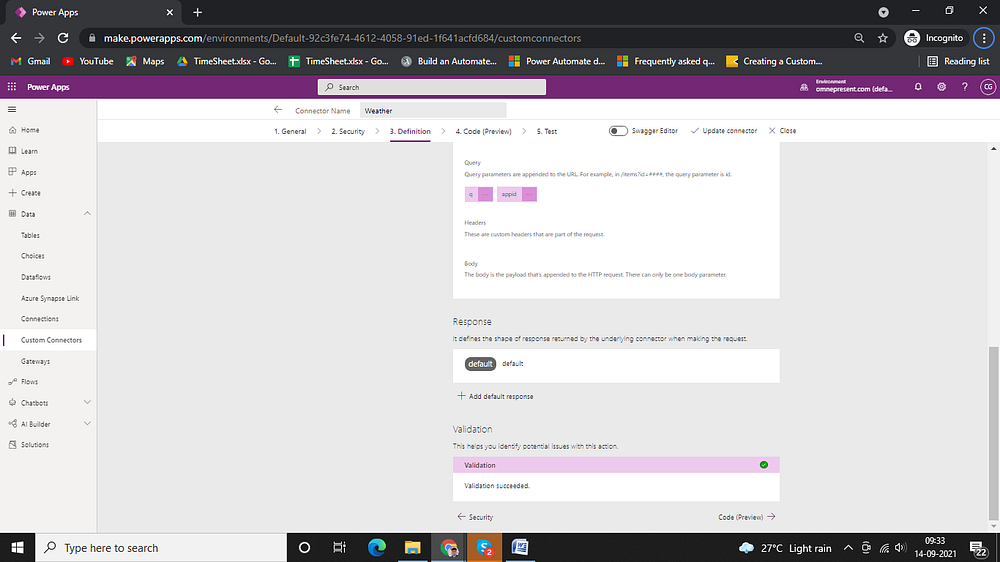
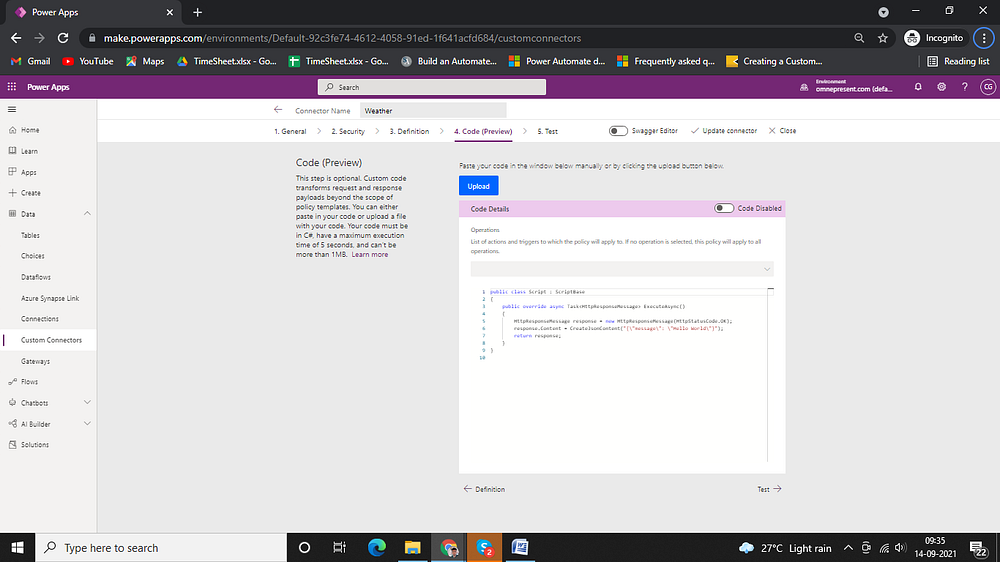
15. Code Preview
In this code preview, you can also verify and check it.
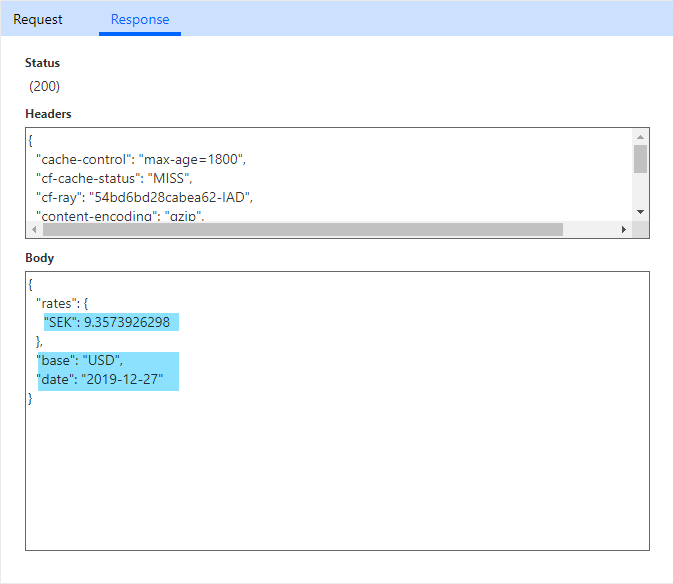
16. Click on Test and close
After testing your code, if you get a response status like 200 means your custom connect has been created and the code runs successfully.
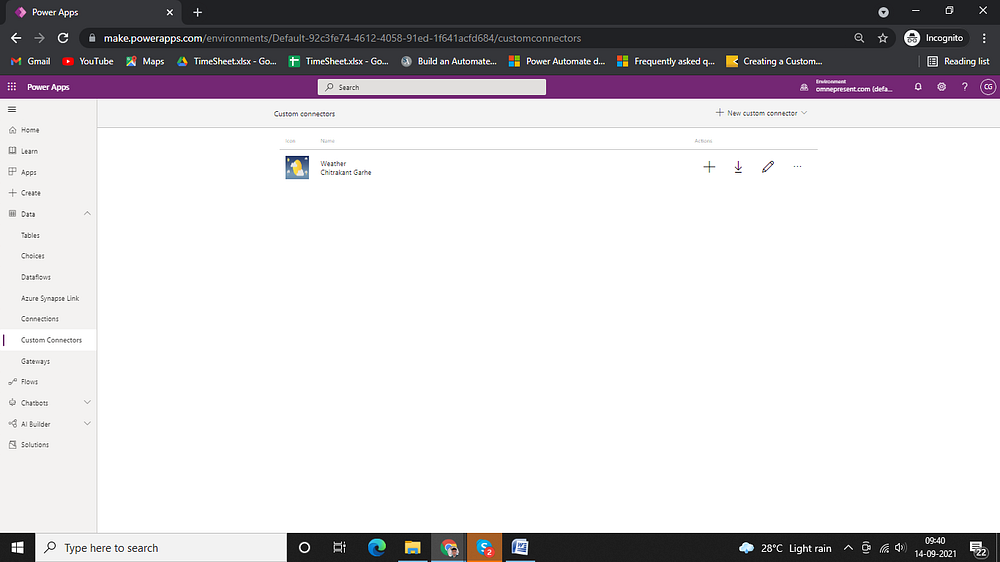
Now we have created a custom connector name Weather. As below screen you can check custom connector name weather is created and use this weather custom connector in your PoweApps and power automate.
Share the Custom Connector in your organization
You may wish to allow others to utilize your custom connection now that you have it. Employees in your company can use the custom connector in the same way that they do standard Microsoft-managed connectors. In this topic, we go through the specifics. Share your created custom connector within Organization.
Life Cycle of custom connector
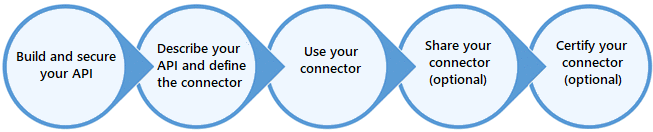
For more information of life cycle and regarding custom connector kindly go through link from Microsoft doc where you will get much more idea — https://docs.microsoft.com/en-us/connectors/custom-connectors/
Conclusion
The Power Apps platform enables the user to create a custom connector and use it in apps. The platform enables users to develop sophisticated processes and link to external API which is not available under Microsoft connectors.
In this blog, we walked you through the process of creating your own custom connectors in Power Apps.


Comments
Post a Comment